 Merken
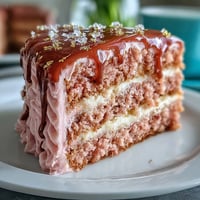
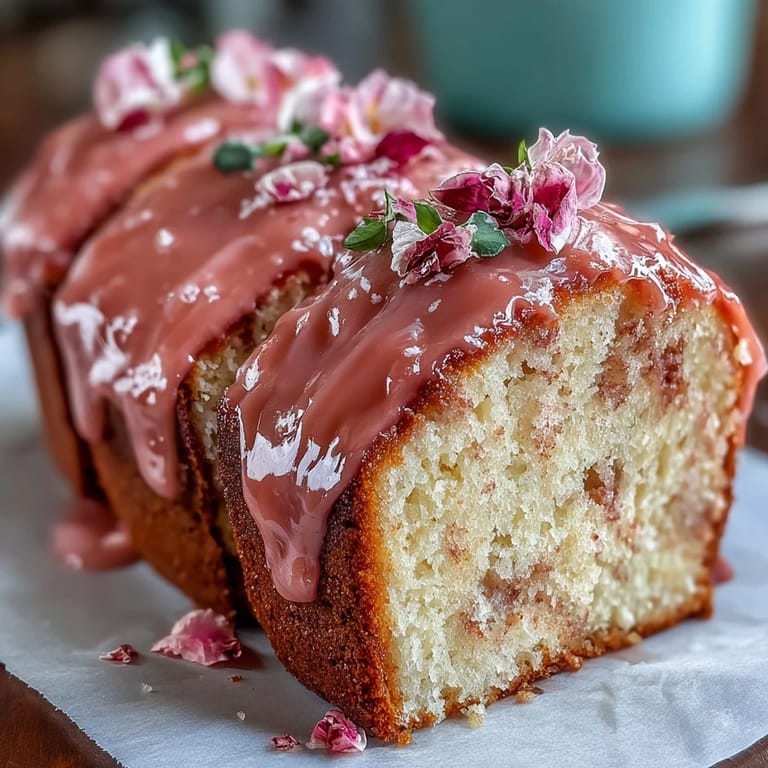
 My sister called three days before Mother's Day in a mild panic—she wanted to make something spectacular but didn't trust herself with anything too complicated. I remembered watching our mum frost cakes with such ease, those gentle sweeping motions that made it all look effortless, and I thought, why not teach my sister the same trick? This vanilla sponge with its soft pink ombre buttercream became our secret weapon that year, and now whenever I bake it, I can almost hear her laughing at the tiny buttercream smudge on her nose.
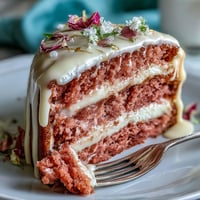
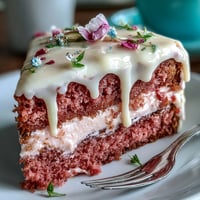
I made this cake for a friend's mum who'd just retired, and watching her eyes light up when she saw that soft pink tower sitting on the table was one of those moments that made me realize baking isn't really about sugar and flour at all. The edible flowers on top caught the afternoon light, and suddenly what started as a recipe became a celebration, a tangible way of saying 'you matter.'
Ingredients
- All-purpose flour: Two and a half cups gives you structure without being heavy; sift it if you have the patience, but honestly, the whisking matters more than perfection here.
- Baking powder: Two and a half teaspoons keeps the cake tender and tall—don't skimp or your layers will be disappointingly dense.
- Salt: Just a half teaspoon, but it's the secret that makes the vanilla sing instead of whisper.
- Unsalted butter: One cup for the cake itself, and it must be at room temperature or you'll fight with lumps and regret everything.
- Granulated sugar: Two cups creates that light, fluffy crumb that makes people ask for the recipe.
- Large eggs: Four of them, and yes, room temperature matters because cold eggs refuse to blend properly and you'll end up with a grainy batter.
- Pure vanilla extract: One tablespoon, not the imitation stuff—this is the moment where quality actually makes you taste the difference.
- Whole milk: One cup at room temperature, alternated with the flour to keep everything tender and moist.
- Unsalted butter for buttercream: A full pound and a half, softened completely so it whips into clouds.
- Powdered sugar: Five cups, sifted to avoid lumpy frosting that will drive you slightly mad.
- Milk or heavy cream: Two to three tablespoons to loosen the buttercream to spreading consistency.
- Vanilla extract: Two teaspoons more vanilla because why not layer the flavor.
- Pink food coloring: Gel food coloring is non-negotiable here because liquid coloring waters down your buttercream and ruins the ombre effect.
- Edible flowers: Violets, pansies, or rose petals that you've verified are food-safe—they're the final brushstroke that transforms cake into art.
Tired of Takeout? 🥡
Get 10 meals you can make faster than delivery arrives. Seriously.
One email. No spam. Unsubscribe anytime.
Instructions
- Heat your oven and prepare your pans:
- Preheat to 350°F and line three 8-inch round pans with parchment paper, greasing them well so your beautiful layers don't stick. This is the moment to make sure everything is ready, because once you start mixing, there's no stopping.
- Combine your dry ingredients:
- Whisk together flour, baking powder, and salt in a medium bowl until they're evenly distributed. This aerates the flour slightly and ensures your baking powder doesn't create bitter pockets.
- Cream butter and sugar into clouds:
- Beat room-temperature butter and sugar for three to four minutes until the mixture is pale and fluffy, not dense and yellow. This is where the lightness of your cake is born, so don't rush it—listen for that sound to change from a dull thud to a lighter whip.
- Add eggs with patience:
- Beat in each egg completely before adding the next, then add your vanilla extract. If you dump them all in at once, you'll get a separated, sad batter that won't rise properly.
- Alternate flour and milk like a gentle rhythm:
- Add the flour mixture in three portions, alternating with milk and starting and ending with flour. Mix on low speed and stop as soon as everything is combined—overmixing at this stage develops gluten and makes your cake tough.
- Divide and bake:
- Split the batter evenly among your prepared pans and bake for 25 to 30 minutes until a toothpick comes out clean. The kitchen will smell like vanilla heaven, which is both a blessing and a test of patience.
- Cool with care:
- Let the cakes cool in their pans for ten minutes so they set slightly, then turn them out onto wire racks to cool completely. Warm cakes are fragile and will tear; cold cakes are sturdy and ready for frosting.
- Beat butter for your buttercream:
- Whip room-temperature butter on high speed for two to three minutes until it's creamy and lighter than it was before. This incorporates air and makes your frosting fluffy instead of dense.
- Add sugar gradually and carefully:
- Mix in sifted powdered sugar on low speed so you don't create a powdered sugar explosion, then add vanilla and milk. Beat on high for three minutes until the texture is smooth and spreadable.
- Create your ombre palette:
- Divide the buttercream into four bowls—leave one pure white and tint the others with increasing amounts of gel food coloring to create three shades of pink. The gel coloring won't thin out your frosting, keeping the texture perfect for spreading.
- Build and frost your masterpiece:
- Place the first cake layer on your serving plate, spread the darkest pink buttercream on top, add the second layer with medium pink buttercream, and finish with the light pink on top and white around the sides. The gradient should flow naturally from dark to light like a sunset in buttercream form.
- Smooth and blend:
- Use an offset spatula to smooth the frosting, and if you're feeling artistic, use a bench scraper to blend the ombre effect up the sides. This is the part that looks impressive but is honestly just gentle scraping.
- Decorate with flowers:
- Add your edible flowers just before serving to keep them fresh and vibrant, arranging them with whatever grace you can muster. Chill the cake for thirty minutes before slicing for clean, beautiful cuts.
 Merken
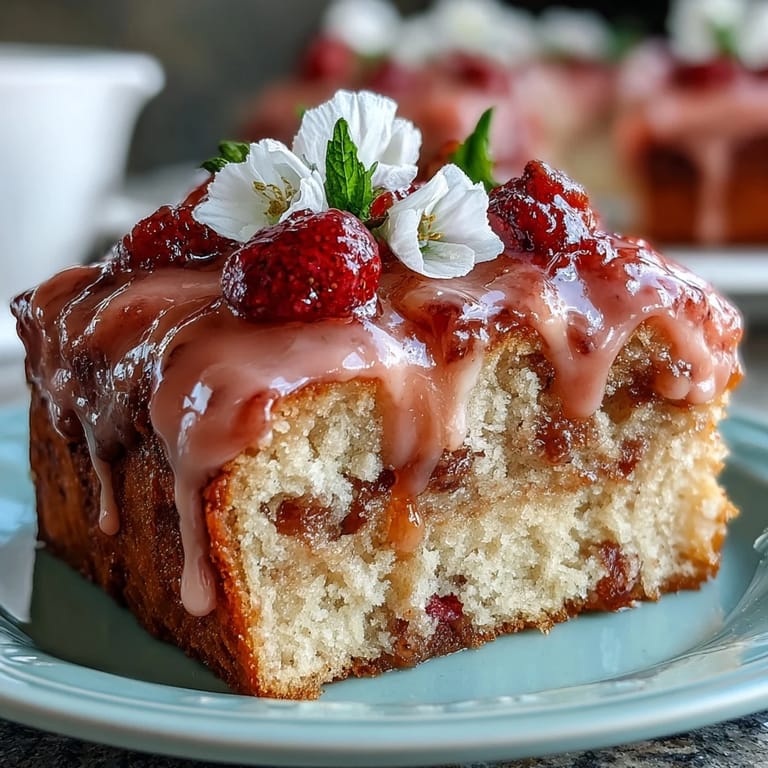
 The first time I saw someone carefully pull out their phone to photograph this cake before eating it, I knew we'd created something that mattered beyond taste. It sits on the table like a small work of art, and that moment right before the knife goes in, that's when the magic happens—when a cake becomes a memory.
The Secret to Keeping Layers Level
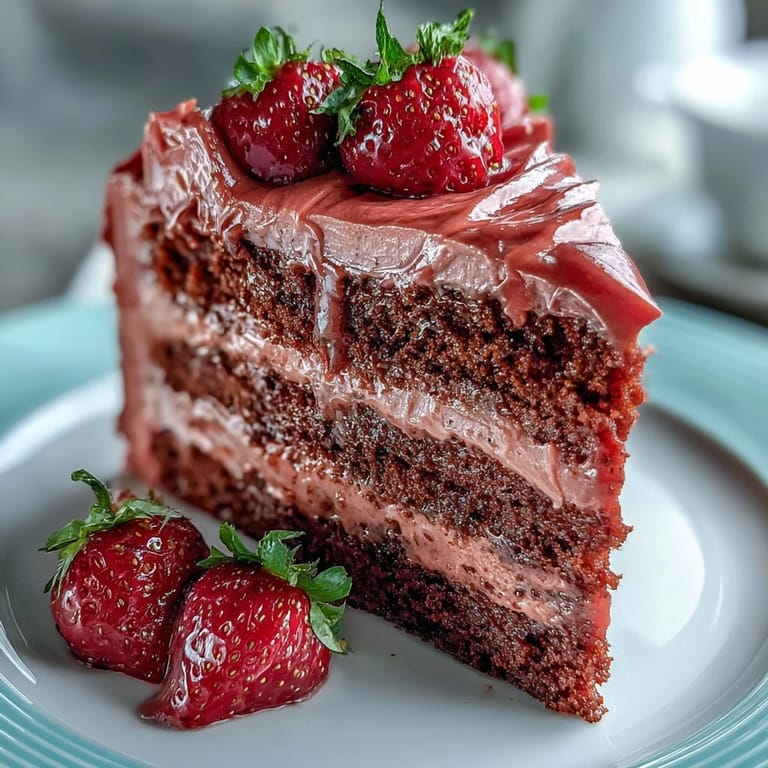
I learned this the hard way after stacking my first layer cake and watching it slide sideways into leaning tower territory. Baking in three separate pans instead of one tall cake and slicing it ensures even layers that stack without judgment, and the baked layers are sturdier than sliced ones anyway. Each layer bakes at the same rate, cools at the same rate, and sits perfectly level on the next one—no engineering degree required.
Why Simple Syrup Makes the Difference
My grandmother used to brush her cake layers with a simple mixture of equal parts sugar and water (cooled completely), and the first time I tried it, I understood why. It adds moisture without making the cake soggy, keeps the crumb tender even after days in the fridge, and creates a subtle sweetness that sits underneath the buttercream like a quiet background hum. It's an extra step that takes five minutes and changes everything about how the cake tastes and keeps.
Storing and Serving for Maximum Beauty
This cake actually improves after a day in the fridge when the flavors settle and the buttercream firms up into perfect slicing texture. Let it sit at room temperature for fifteen minutes before cutting so the crumb stays tender instead of shattering, and always use a long, hot knife wiped clean between slices for those magazine-worthy cuts that make you feel like a professional.
- Keep the cake covered in the fridge for up to four days and it will still taste fresh and soft, though the flowers will eventually wilt so don't bake it days ahead.
- You can freeze the unfrosted cake layers for up to three months, which is a lifesaver if you're making this for an event and want to spread the work across multiple days.
- Bring sliced cake to room temperature for ten minutes before serving so the buttercream softens and the vanilla flavor comes through clearly instead of tasting muted and cold.
 Merken
 This cake has become my go-to for moments that deserve celebration, and every time I frost it, I think about how baking is really just showing people you love them through sugar and butter and time. It's not complicated, but it is beautiful, and that's enough.
Antworten auf häufige Fragen
- → Wie wird der Ombre-Effekt der Buttercreme erzielt?
Die Buttercreme wird in mehrere Schüsseln aufgeteilt und mit unterschiedlicher Menge pinker Lebensmittelfarbe eingefärbt. Die verschieden intensiven Farbtöne werden schichtweise aufgetragen und sanft verblendet.
- → Wie bleibt der Vanilleschwamm saftig?
Um die Feuchtigkeit zu erhalten, empfiehlt es sich, die abgekühlten Böden vor dem Bestechen mit einem einfachen Zuckersirup zu beträufeln.
- → Welche Blumen eignen sich zur Dekoration?
Essbare Blüten wie Veilchen, Stiefmütterchen und Rosenblätter sind ideal, da sie nicht nur hübsch aussehen, sondern auch sicher verzehrt werden können.
- → Wie lange sollte der Kuchen vor dem Servieren gekühlt werden?
Der Kuchen sollte mindestens 30 Minuten gekühlt werden, damit sich die Buttercreme festigt und sich saubere Stücke schneiden lassen.
- → Kann der Kuchen im Voraus zubereitet werden?
Ja, die Böden und Buttercreme können vorbereitet werden, allerdings sollte die Dekoration mit frischen Blumen kurz vor dem Servieren erfolgen.